
Stock Refinishing—Done Right
These posts are written by me, not AI. Unless otherwise stated, all pictures were taken by me as well. Please enjoy.
A poorly done stock refinish is downright ugly. When I was first bit by the gunsmithing bug, I started by refinishing every old .22 I could get my hands on. Most of them turned out okay, but all of them were missing details here and there.
Checkering that had been sanded flat. Rounded edges. Heavy stains. From a distance they looked fine but up close, they missed the mark.
Some of the links on this site are affiliate links, which means I may earn a small commission if you choose to make a purchase—at no additional cost to you. This has no impact on what I write about or the opinions I share, as everything here is based on real use and time in the field. I only include links when I believe they genuinely add value or help the reader, and I won’t recommend or link to anything I wouldn’t use myself.
Before I get into how I refinish a stock today, let’s talk about when you should and shouldn’t refinish one. I’ll touch on it briefly here, but for a more in-depth look, check out my other post: Does Refinishing a Gun Hurt Its Value — or Help It?
First and foremost, rarity matters. In the world of collecting, a refinished stock will almost always reduce the value of a gun. If value is important to you, think long and hard before moving forward. Is it a collector’s piece or a working rifle?
Second is sentimental value. Are the dings and dents hard-earned from your grandpa? Or are they from neglect and bouncing around in the back of a truck? I’m not trying to talk anyone out of a refinish, these are simply the questions I’m going to ask.

My Process
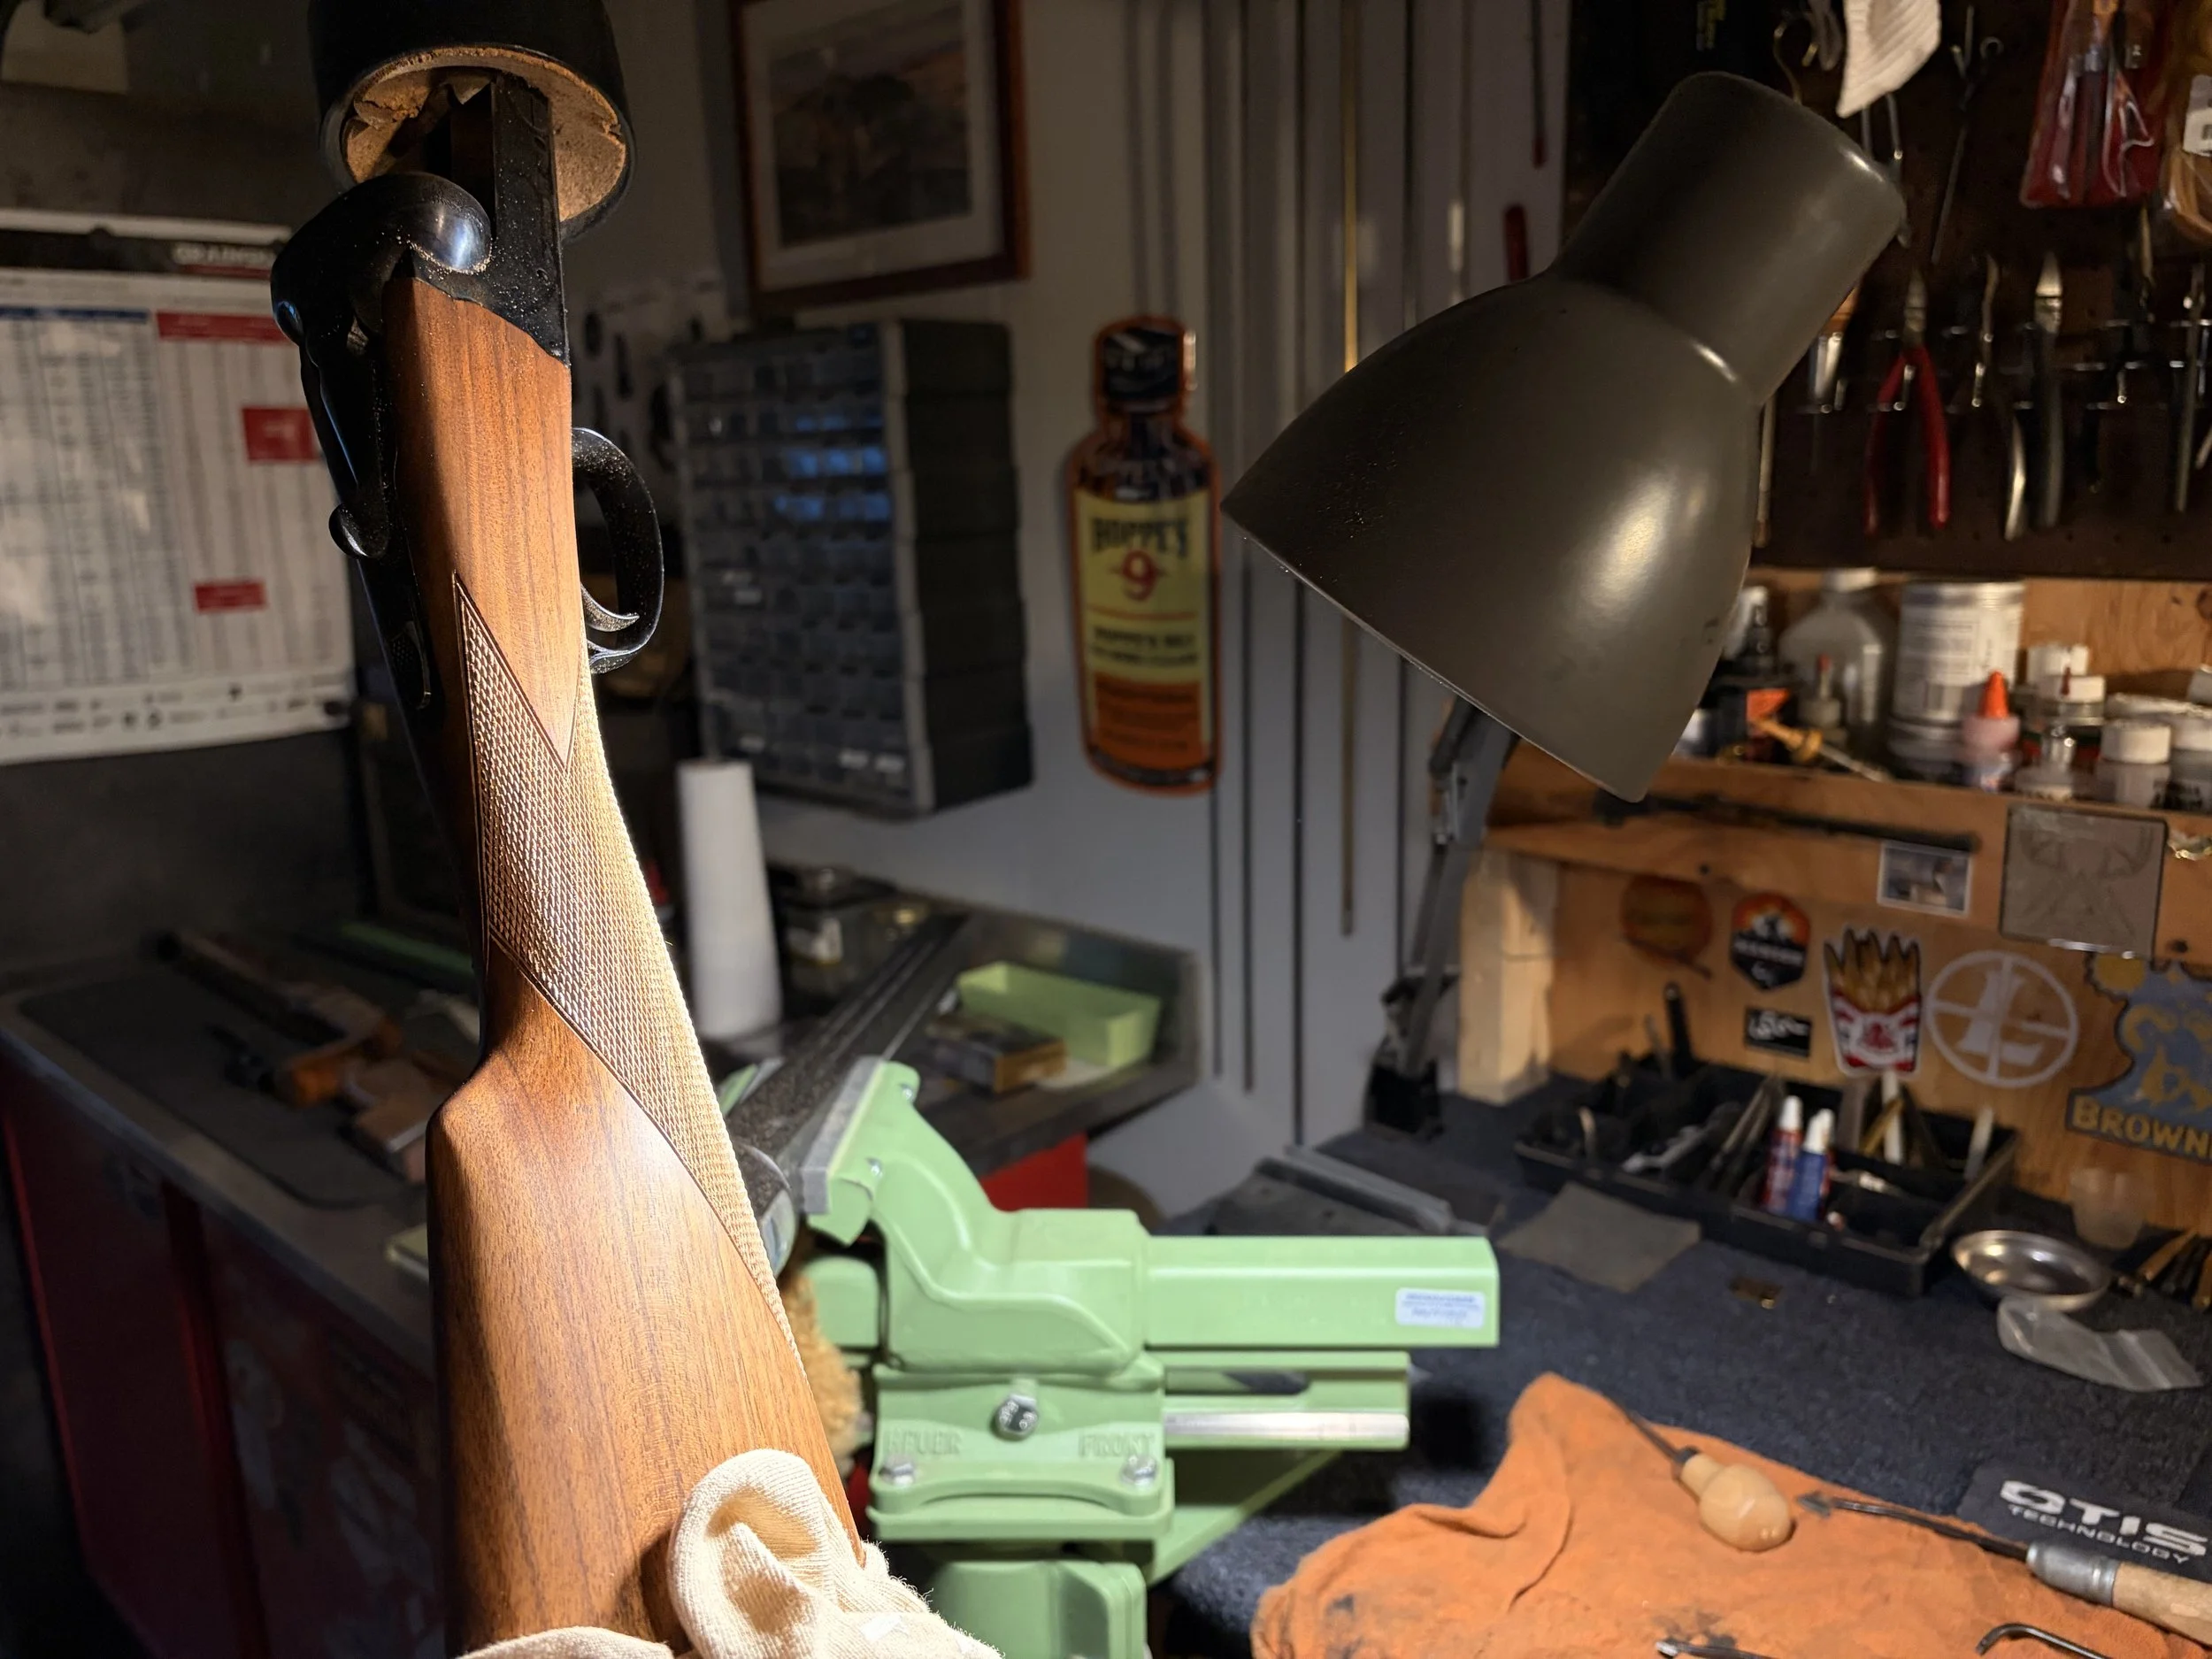
When I dive into a stock refinish, the first thing I do is grab a wax pencil and evaluate what needs attention. I circle damaged areas and work out a plan before any tools come out. It’s much more involved than just putting sandpaper to wood.
I check for structural damage — cracks, dents, oil-soaked wood, poor bedding. Those issues get addressed first. Cracks are glued and pinned if necessary. Dents are raised. If the stock is oil soaked, the multi-day process of drawing that oil out begins.
It’s critical to raise as many dents as possible before sanding. Once you sand through compressed grain, raising and blending that dent properly becomes much more difficult.
At the butt of the stock, I decide whether it needs a new recoil pad or buttplate. There’s nothing worse than seeing a beautifully refinished stock wearing a worn-out pad. If it needs replacing, that gets done next. All sanding is performed with the new pad or plate installed to avoid rounding the edges.
Next comes stripping the old finish. Depending on what’s there, I’ll use scrapers or a chemical stripper. If the stock has checkering, it’s taped off and protected during this process. Very rarely do I use sandpaper to remove an old finish.
Once the wood is stripped clean, I begin light sanding, always with a solid backer behind the paper. Without one, it’s almost impossible to avoid creating waves or uneven surfaces.
I typically start at 220 grit and work up through 400, raising the grain between each step. The final grit depends on the desired finish. A gloss build will go higher. Throughout the process, I’m constantly looking for damage I may have missed during the initial evaluation.
Once sanding is complete, I apply a sealer to help protect the wood from moisture. After that dries, I begin building the oil finish and filling the grain. Once the desired depth and appearance are achieved, the stock sits in the drying cabinet for a couple of days before checkering work begins.

As seen here, factory checkering is usually not cut to final depth to begin with and leaves an unfinished look
After the finish has fully cured, I move the stock to my checkering cradle and recut the existing pattern. This step is often skipped, but it makes a significant difference. Many factory stocks leave with shallow or soft checkering. Recutting brings it back to proper depth and sharpness, correcting any damage along the way. It transforms the feel of the stock in the hand.
Finally, if the customer wants it, I apply a coat of wax. It enhances the finish and adds a layer of protection against moisture and minor scratches. On my own hunting rifles, I reapply wax before every season.
Final Thoughts
When done right, a refinished stock can give a rifle a new lease on life. Whether it’s an old one you just picked up or a newer factory stock that deserves a traditional oil finish, the difference is noticeable.
Written by: Kurt Martonik
Kurt is a Gunsmith, Reloader, Hunter, and Outdoorsman. He grew up in Elk County, Pennsylvania, where he became obsessed with the world of firearms. Following high school, Kurt enlisted in the United States Air Force as a Boom Operator, where he eventually rose to the position of Instructor. After his military service, he attended the Colorado School of Trades(CST) in Lakewood, CO for gunsmithing. Following graduation, he accepted a job at C. Sharps Arms in Montana, where he worked as a full time stockmaker and gunsmith. He now owns and operates Highland Custom LLC. See full bio here.